mortal shell ii · mortal shell 2 tar golem
Mortal Shell 2 Tar Golem: How to Beat It
Last verified: 2026-08-18
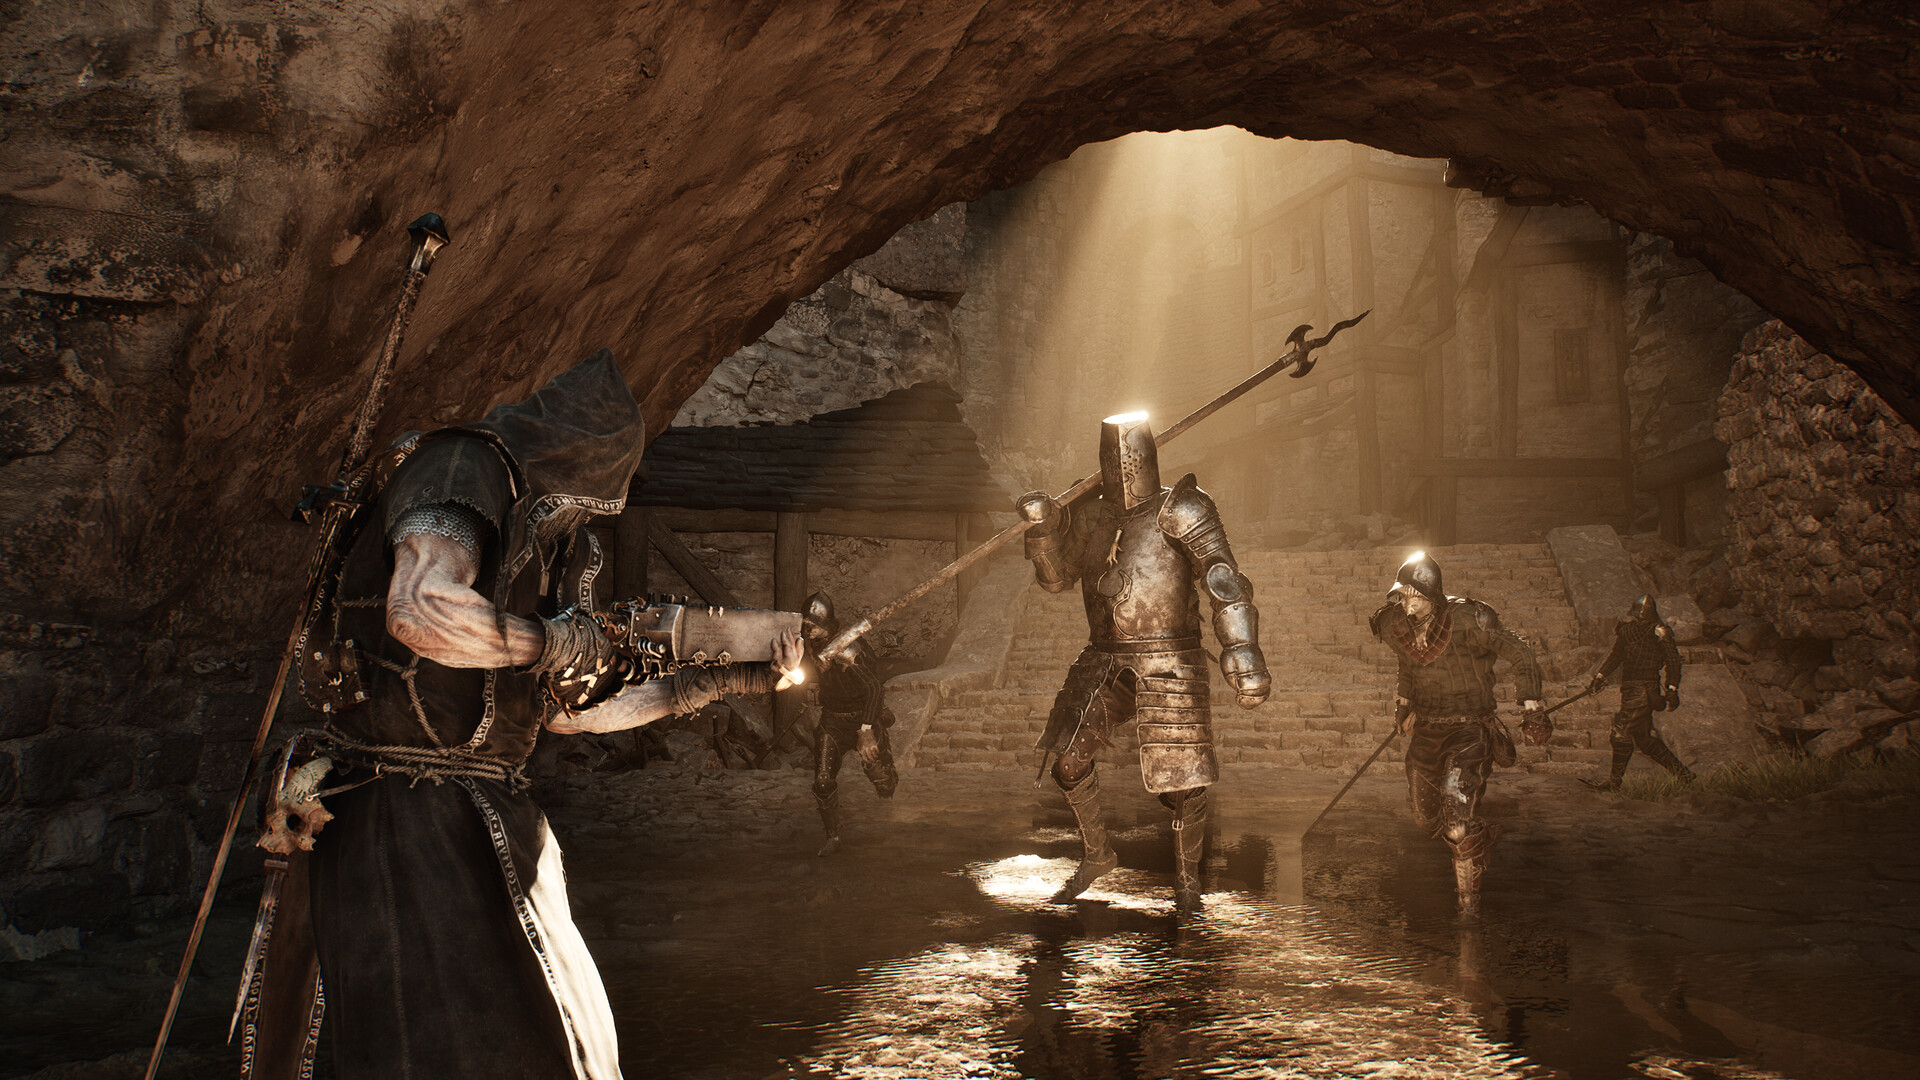
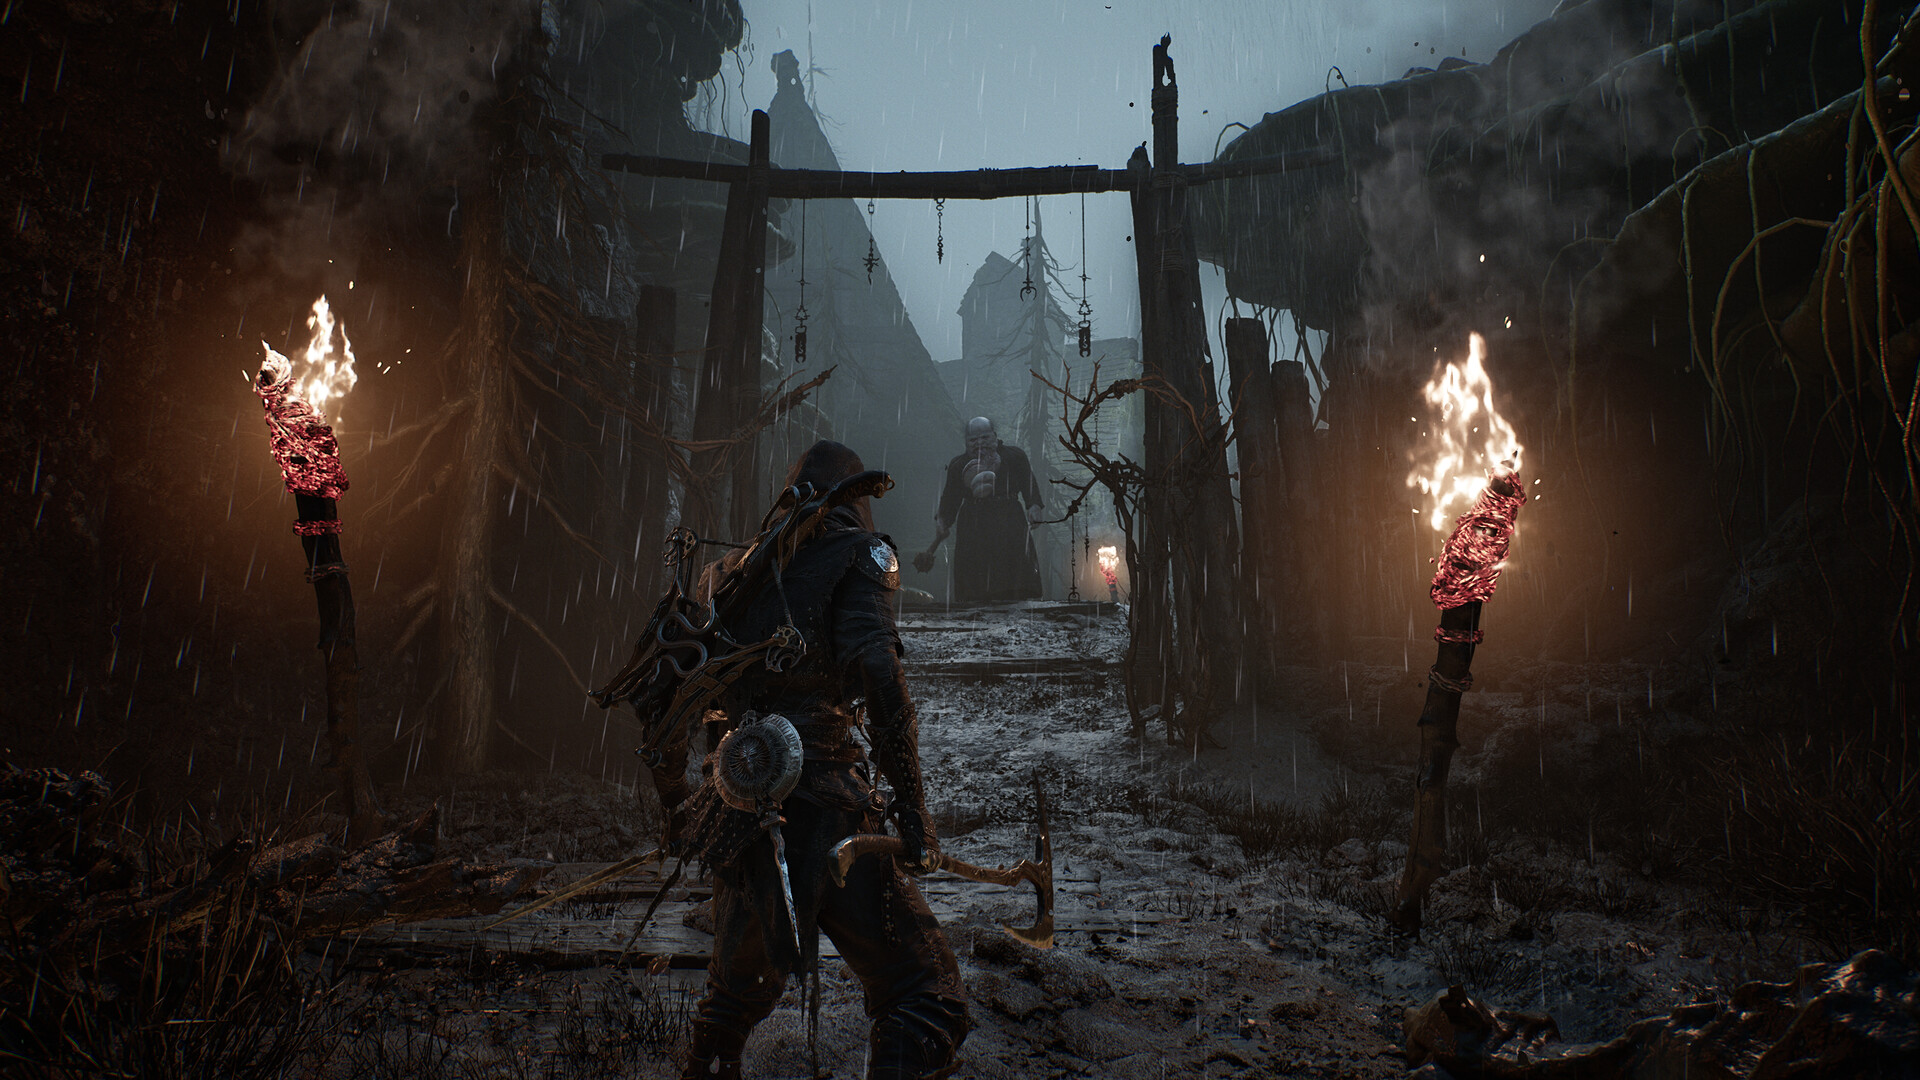
The Mortal Shell 2 Tar Golem is the prologue boss waiting in Disciple's Grotto — a hulking rock creature swinging two large flaming axes. Here is the twist most players miss: you do not have to beat it. Your first defeat triggers a cutscene and the story continues anyway. But if you want the achievement, you must take the Mortal Shell 2 Tar Golem all the way to zero health, and this guide explains how. Verified 2026-08-18.
The scripted defeat, explained
GamesRadar's achievement guide puts it plainly: the Tar Golem "dies either way". The encounter is built so that your first death plays a cutscene and moves the story forward — a classic designed-to-lose fight. The achievement wording, however, specifically requires reducing the boss to zero HP, which technically means surviving and winning on your first attempt.
It is worth asking how hard that actually is. Beta reviewers who cleared the demo's boss roster reported dying at least once to most bosses but rarely needing more than two or three attempts, and this being the opening area, the fight is tuned as a lesson rather than a wall. Winning outright on attempt one is realistic if you go in knowing the safe spot below.
Two workarounds exist if things go wrong:
- Quit before the autosave. If the fight turns against you, close the game before the defeat cutscene finishes and the game saves. You reload before the arena and get another attempt, as many times as you need.
- New save. If you already watched the cutscene, that save can never replay the fight. The achievement requires starting over.
Mortal Shell 2 Tar Golem stats and weaknesses
The fan-run Mortal Shell II Database published figures mined from the game files. Treat them as beta-build numbers that the day-one patch may adjust:
| Stat | Value |
|---|---|
| Health | 2,100 (roughly 11 times a standard enemy) |
| Poise | 125 (the attributes table lists 126) |
| Shock resistance | 12 — its lowest, so Shock builds up fastest |
| Curse resistance | 15 |
| Frost resistance | 17 |
| Bleed resistance | 20 — its highest, slowest to trigger |
| Break resistance | 150 |
| Stone Stun duration | 5 seconds |
| Riposte Weakness | 1 |
Its known attack set in the files includes two basic swings, a close-range combo, a two-handed clap, a gap-closing combo, a leaping slam, a plowing charge, and a dedicated on-death attack. The full database list, for reference:
| Database entry | What it appears to be |
|---|---|
| Golem Attack 1 and 2 | Basic grounded swings |
| Golem Attack 5 Close Combo | Short-range string when you hug the body |
| Golem Attack 6 Clap / Clap Attack | Two-handed clap variants |
| Golem Attack Combo 3 | Mid-length combo |
| Golem Attack Gap Combo 4 | Gap-closing sequence |
| Golem Attack Jump | The leaping slam |
| Golem Attack Plow | The plowing charge |
| Golem Attack On Death | A final attack that fires as it dies |
The takeaway for your loadout: Lightning-leaning damage and posture pressure outperform bleed setups here. You fight this encounter as Harros the Vassal, the tutorial shell, whose petrifying ability freezes enemies in place for free hits.
Mortal Shell 2 Tar Golem strategy: the leg safe spot
Players who lab-tested the fight found something remarkable: the Mortal Shell 2 Tar Golem struggles to hit anything pressed against its legs. Stay glued to its lower body, rotate as it turns, and most of its sweeping axe work whiffs over your head. The Mortal Shell 2 Tar Golem rewards patience over aggression, so build your attempts around this loop.
| Attack | Response | Punish |
|---|---|---|
| Standard grounded strikes | Deflect — the swings are slow and readable | One or two hits |
| Sweeping axe attack | Dash through or away once it commits | Re-enter beside the legs |
| Aerial leap | Sidestep or dash the impact zone | Two hits after it lands |
| Follow-up swings with fire | Stay close only if safe; the flames chip you even in the safe spot | Finish the short punish, then reset |
| Plow and gap closers | Keep rotating with its body | Do not chase across the arena |
- Close the distance immediately. The fight is hardest at mid-range where the big swings track you.
- Stick to the legs and rotate. Move with the golem's turning motion rather than circling loosely.
- Read each attack. Deflect the slow grounded swings; dash the sweep; sidestep the leap.
- Punish with exactly two hits. A third hit pushes the boss backward, breaking your safe position and leaving you in recovery when it retaliates.
- Reset to the legs and repeat until the health bar empties.
Common failure points: drifting sideways out of the leg zone, dashing before an attack actually commits, and greedily adding that third hit. Every one of those breaks the safe spot, not the boss's damage output.
Mortal Shell 2 Tar Golem: common mistakes and fixes
Most failed attempts against this boss come from losing position, not from any single hard-to-read move. Community testing distilled the five big ones:
| Mistake | Why it hurts | Fix |
|---|---|---|
| Loose circling | Wanders out of the narrow safe area near the legs | Rotate tightly with the boss's body |
| Long combos | Pushes the golem away and leaves you in recovery | Stop at two hits, every time |
| Early dashes | Burns your escape before the sweep arrives | Wait until the attack commits, then dash |
| Ignoring fire chip damage | Follow-up flames hurt even in the safe spot | Finish the short punish, then reassess |
| Blind deflecting | Guessing the timing gets you clipped | Learn the slower rhythm first, parry second |
A deflection-based attempt is viable because the swings are slow, but the encounter never demands constant parrying. If a timing feels uncertain, prioritize movement and wait for a cleaner read. And when a mistake does break your position, do not chase damage — regain the legs, identify the next attack, and rebuild the loop.
Before each serious attempt, confirm:
- You can hold the leg position while rotating for a full minute.
- You recognize the grounded swings well enough to deflect them.
- You have dashed the sweep without panic-rolling early.
- You can stop your own combo after two hits.
- You know where the cliff is, in case you want the reset.
One nuance from the creator who popularized the safe spot: after the leaping slam, you can sometimes squeeze a third hit in if you stay planted at the legs rather than chasing. His own footage then shows that exact greed pushing the boss away and getting him caught — so treat two hits as the default and the extra as an occasional, earned bonus.
Re-fighting the boss in the beta
Even if you beat it, nothing about the story changes — this fight always ends the prologue the same way. But if you simply want another clean attempt, beta players found a retry trick: there is a cliff at the back of the arena. Jump off it, and you respawn with a fresh, full-health attempt against the boss. Any damage you dealt before does not persist, so every retry starts from a full bar, but you can repeat this as many times as you like.
Whether the full release keeps the scripted defeat, the cliff retry, or the achievement exactly as the beta has them is unconfirmed as of 2026-08-18 — the day-one patch may adjust encounter details. What will not change is the core lesson the Mortal Shell 2 Tar Golem teaches: get close, stay disciplined, and never take the third hit. Master that here and the rest of the game's bosses get much easier. For a shell that rewards the same aggressive up-close style, see our Proxima unlock guide, and check the map page for the prologue route.
What comes after the prologue
Once the golem's cutscene plays out, the game opens up around Marrow Keep and the boss roster widens fast. Fextralife's boss list confirms the very next encounters include the Wandering Shepherd, a boss that weaponizes a herd of sheep and a floating sword in the farm section of the Sunken Village, and Isaac, the Scholar-Prince, a moth-like mutated boss closing out the Faded Citadel gate. Harros, the shell you piloted through this fight, stays behind — he is the tutorial shell and cannot be equipped past the prologue — so picking up a permanent replacement body like Proxima or Tiel should be your first stop in the open world. Our shells page covers every unlock order we recommend.
Watch it in action
FAQ
Do you have to beat the Tar Golem in Mortal Shell 2?
No. Your first defeat triggers a cutscene and the story continues regardless — the encounter is designed as a scripted loss.
Where is the Tar Golem located?
In Disciple's Grotto, during the prologue, while you are piloting the tutorial shell Harros the Vassal.
How do you get the Tar Golem achievement?
Reduce the boss to zero health. Because losing ends the fight with a cutscene, that effectively means winning on your first attempt — or quitting the game before the post-defeat autosave.
What is the Tar Golem weak to?
Shock. Database figures from the game files give it the lowest Shock resistance of its status profile, while Bleed is its highest resistance.
Can you re-fight the Tar Golem?
In the beta, jumping off the cliff at the back of the arena resets the fight for unlimited full-health retries. Re-fight rules in the full release are unconfirmed.
Is the Tar Golem achievement missable?
Yes on a given save: once the defeat cutscene plays and the game autosaves, that save cannot replay the fight. You would need a new save.
Sources
- GamesRadar Tar Golem achievement guidehttps://www.gamesradar.com/games/rpg/mortal-shell-2-tar-golem/
- Mortal Shell II Database boss entryhttps://mortalshelldb.com/bosses/tar-golem
- mortal-shell-2.wiki boss tipshttps://www.mortal-shell-2.wiki/bosses/mortal-shell-2-tar-golem
- Fextralife boss listhttps://mortalshell2.wiki.fextralife.com/Bosses
- Steam Open Beta store pagehttps://store.steampowered.com/app/4711740/Mortal_Shell_II__Open_Beta/