mortal shell ii · mortal shell 2 shells
Mortal Shell 2 Shells: Every Shell Class Explained
Last verified: 2026-08-18
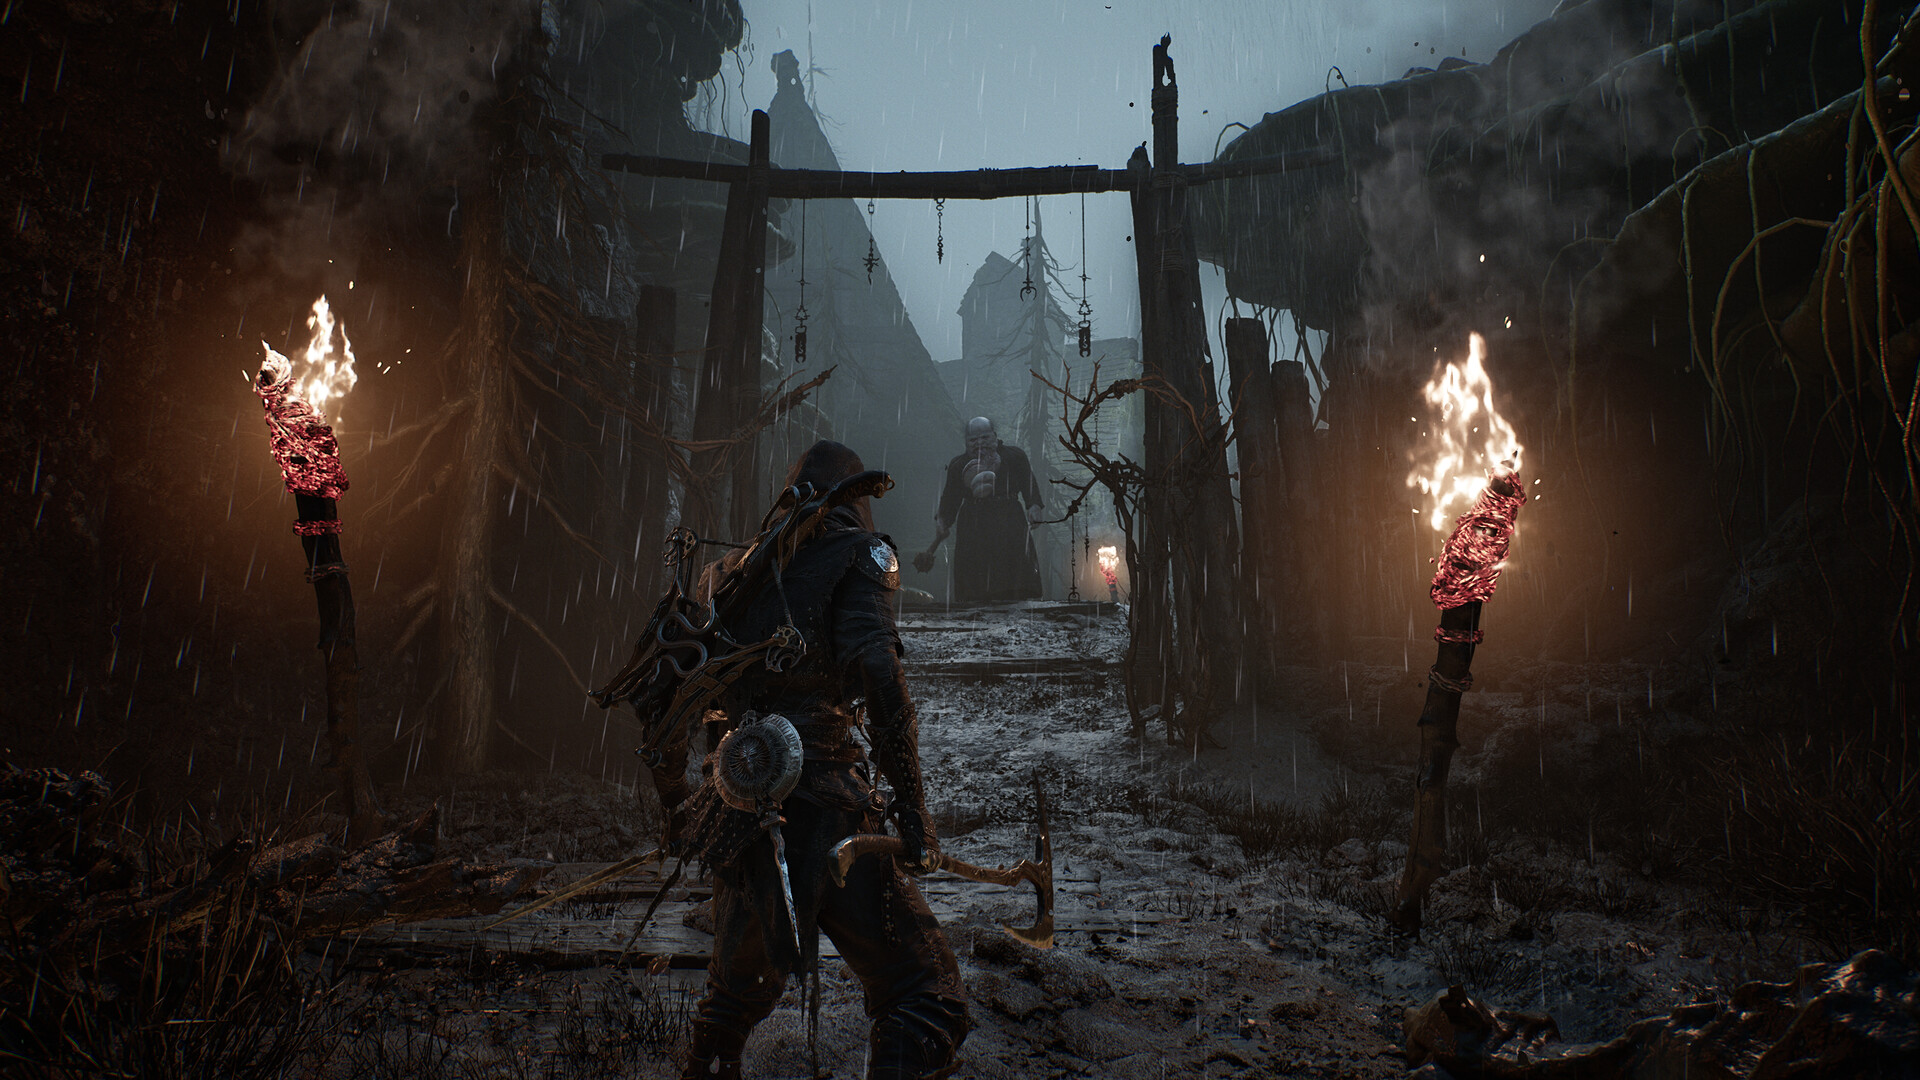
There are eight playable Mortal Shell 2 shells to collect in the full game — plus Harros, the Vassal, a ninth returning shell you only control during the prologue. This page lists every shell's exact unlock route, its abilities, and which ones deserve your scarce Glimpses first. Verified on 2026-08-18, two days before launch.
How Mortal Shell 2 shells work
Shells are the remains of fallen warriors that the Harbinger possesses, each with its own ability kit and combat style. The rules that matter:
- Finding a shell unlocks it permanently. After you claim one you complete its memory sequence, then raise your Bond with it at Zhirelle, the Shellkeeper in Marrow Keep, spending Glimpses to open higher perk tiers.
- Glimpses are scarce. They come primarily from cleansing Beacons, and the same currency reveals shell locations — Zhirelle will mark a shell's shadow on your map for a few Glimpses apiece (reported at three to five per shell). You cannot afford to reveal everything, so choose carefully.
- Tiel and Proxima are marked automatically once you finish the prologue. Everything else is found by exploring or paying Zhirelle.
- Most Mortal Shell 2 shells need no boss kill to reach, but several sit behind arena fights anyway, and every one of them demands a memory sequence before the full kit opens up.
Seals, Tarstones, and other items apply across shells, so your gear carries over even when your body does not.
For context: the open beta only ever exposed two of these — Harros in the prologue and Tiel in Mushroom Village — so anything you read about beta-era shell rosters is outdated. The full eight only became confirmable when launch-era guides landed on 2026-08-17.
All Mortal Shell 2 shells at a glance
The full roster of Mortal Shell 2 shells, in rough unlock order:
| Shell | Region | Unlock in one line |
|---|---|---|
| Harros, the Vassal | Prologue | Tutorial shell; lost forever when the prologue ends |
| Tiel, the Acolyte | Fainweald | Interact with his grave in Mushroom Village |
| Proxima, the Broodseeker | Fainweald | Cleanse the Shattered Beacon near Blackridge Pass |
| Gragu, the Insatiable | Fainweald | Bring him the Heart of Vatra at the One-Legged Wolf tavern |
| Eredrim, the Venerable | Fainweald | Win the fighting pit in the Citadel of Penance |
| Smert, the Apostate | Fainweald | Complete the blood ritual in the Outskirts of Nochte |
| Lazlo, the Justiciar | Mammon | Defeat Vellen, High Lord of Mammon, in his keep |
| Sariel, the Endless | Mammon | Beat him twice, finishing in the Chamber of Becoming |
| Sester Genessa, the Wayward | Mammon and Marrow Keep | Secret: beat Sester Secundus and bring her the Sester's Chalice |
The Mortal Shell 2 shells, one by one
Harros, the Vassal (prologue only)
Veterans remember Harros as the first game's starter. In the sequel he is the tutorial shell again: you unlock him during the prologue, and when it ends you lose access permanently — it is part of the narrative arc, and there is no way to keep him. Say your goodbyes before the Tar Golem fight.
Tiel, the Acolyte
The easiest unlock of the bunch: from the Widow's Overlook beacon, follow the dirt path to a yard with a hastily dug grave and interact with the corpse. Zhirelle marks him automatically after the prologue. Lingering Shadow grants Shadow and readies a Shadow Strike, and while Shadow is active enemies cannot detect him; Shadow Dash rewards dodging at the last instant with Shadow and stagger damage. GamesRadar rates him the best early-to-mid game shell.
Proxima, the Broodseeker
Also auto-marked by Zhirelle. Cross the ravine past Blackridge Pass to a glowing beacon, slip past the insectoid guarding it, and cleanse the Shattered Beacon to claim her remains. Biosampler fires a hook from her left arm, dragging enemies (or Proxima herself) into range for a follow-up that inflicts Lightning; Grafted Armor gives a base 15% chance to halve incoming damage and prevent stagger. Our Proxima page goes deeper on her.
Gragu, the Insatiable
He sits drinking alone in the One-Legged Wolf tavern in eastern Fainweald — reachable once you have siphoned enough Ova (around five) to earn Mether's Breath and cleanse the corrupted growth north of the Mushroom Village Entrance beacon. Fetch the Heart of Vatra from the statue east of the tavern, survive the stone prisoners waking up, and hand it over; Gragu dies on the spot and you claim his husk. Staggering Blow is a chargeable punch with heavy stagger; Revered Heart restores health and recharges by slaying foes.
Eredrim, the Venerable
Enter the Citadel of Penance in northwestern Fainweald (a mysterious bag near the Overrun Quarry teleports you there), ride the central elevator, and let the collapsing floor dump you into a fighting pit. Win, and Eredrim's body is yours. Shoulder Bash and Ethereal Diapason deal Break Damage, while the Executioner passive executes low-health enemies — each Riposte adds Slaughterer stacks that push the execute threshold higher. GamesRadar's pick for the mid-to-late game, and another returning face from the first game.
Smert, the Apostate
In the Outskirts of Nochte swamps in western Fainweald, cultists prepare a blood ritual around Smert's body. Fill each circle by making Blood Offerings — killing enemies standing inside the pools — and claim the body once it glows. Each offering knocks you out of your shell, so recover it before filling the next circle or you will die. Miracle halts time and enters an unarmed Fight Stance whose Chaos stacks detonate when time resumes, with an Overtime option that costs health; Deadly Revelation grants Faith at 10% health or lower.
Lazlo, the Justiciar
Push west from the Outskirts of Mammon beacon through the High Lord's Courtyard into the keep, defeat Vellen, High Lord of Mammon, and inspect the last chamber to find the shell. Lazlo has the highest base HP of any shell in the game. Retribution heats his armor into a shockwave — repeated use Overheats into a stronger, Burn-inflicting blast that briefly disables the armor — and Fortified Plate grants a flat 10% damage reduction while the armor holds.
Sariel, the Endless
Tag the Silent Steps beacon in southeastern Mammon, take the jump gate, and fight Sariel until he flees. Follow him into the Chamber of Becoming, destroy the lightning rods so he cannot resurrect, and finish him. He drops the Clockwork Scythe, and the Caged Hystrix sidearm waits near the exit after his memory. Exodus of Thorns hunts enemies with stacking Curse; Purge converts half of incoming damage into Pain, and at max Pain he dodges faster.
Sester Genessa, the Wayward (secret)
The only secret entry among the Mortal Shell 2 shells. Exhaust her dialogue at the Marrow Keep training grounds, strike the white glyph past the sarcophagi with the Slayer Seal in your inventory (not equipped) to enter the Desolate Keep, and grab the Blackmarrow Key. Later, near the Abbey Entrance beacon in eastern Mammon, touch the red censer among the flickering red specters to face Sester Secundus. Win, take the Sester's Chalice (some guides say Censer) back to Genessa, and relive her memory — the Genessa Prime choice at the end does not change the outcome much. Uniquely, her Bond upgrades by talking to her directly, not the Shellkeeper. Faithful Doubles summon clones that attack and vanish; Duality lets her become Stray instead of being severed when her health is depleted.
Best Mortal Shell 2 shells to unlock first
- Tiel first — auto-marked, trivial to grab, and his stealth kit carries the early game.
- Eredrim second — the mid-to-late game anchor, and FightinCowboy's personal favorite.
- Sariel and Smert for the ceiling — FightinCowboy's maxed-tree testing names Sariel as the strongest candidate, with Smert close behind for players who can live at low health; Moxsy likewise rates Smert the highest skill-ceiling shell.
- Gragu last — Moxsy sees little reason to pick him beyond the big heal.
- Genessa when you want range — her clone army controls fights from a distance.
One warning from both video guides: upgrading Mortal Shell 2 shells eats the same Glimpses you spend on map reveals, and there is not enough currency to max all eight. Pick one or two mains and commit — the investment is permanent.
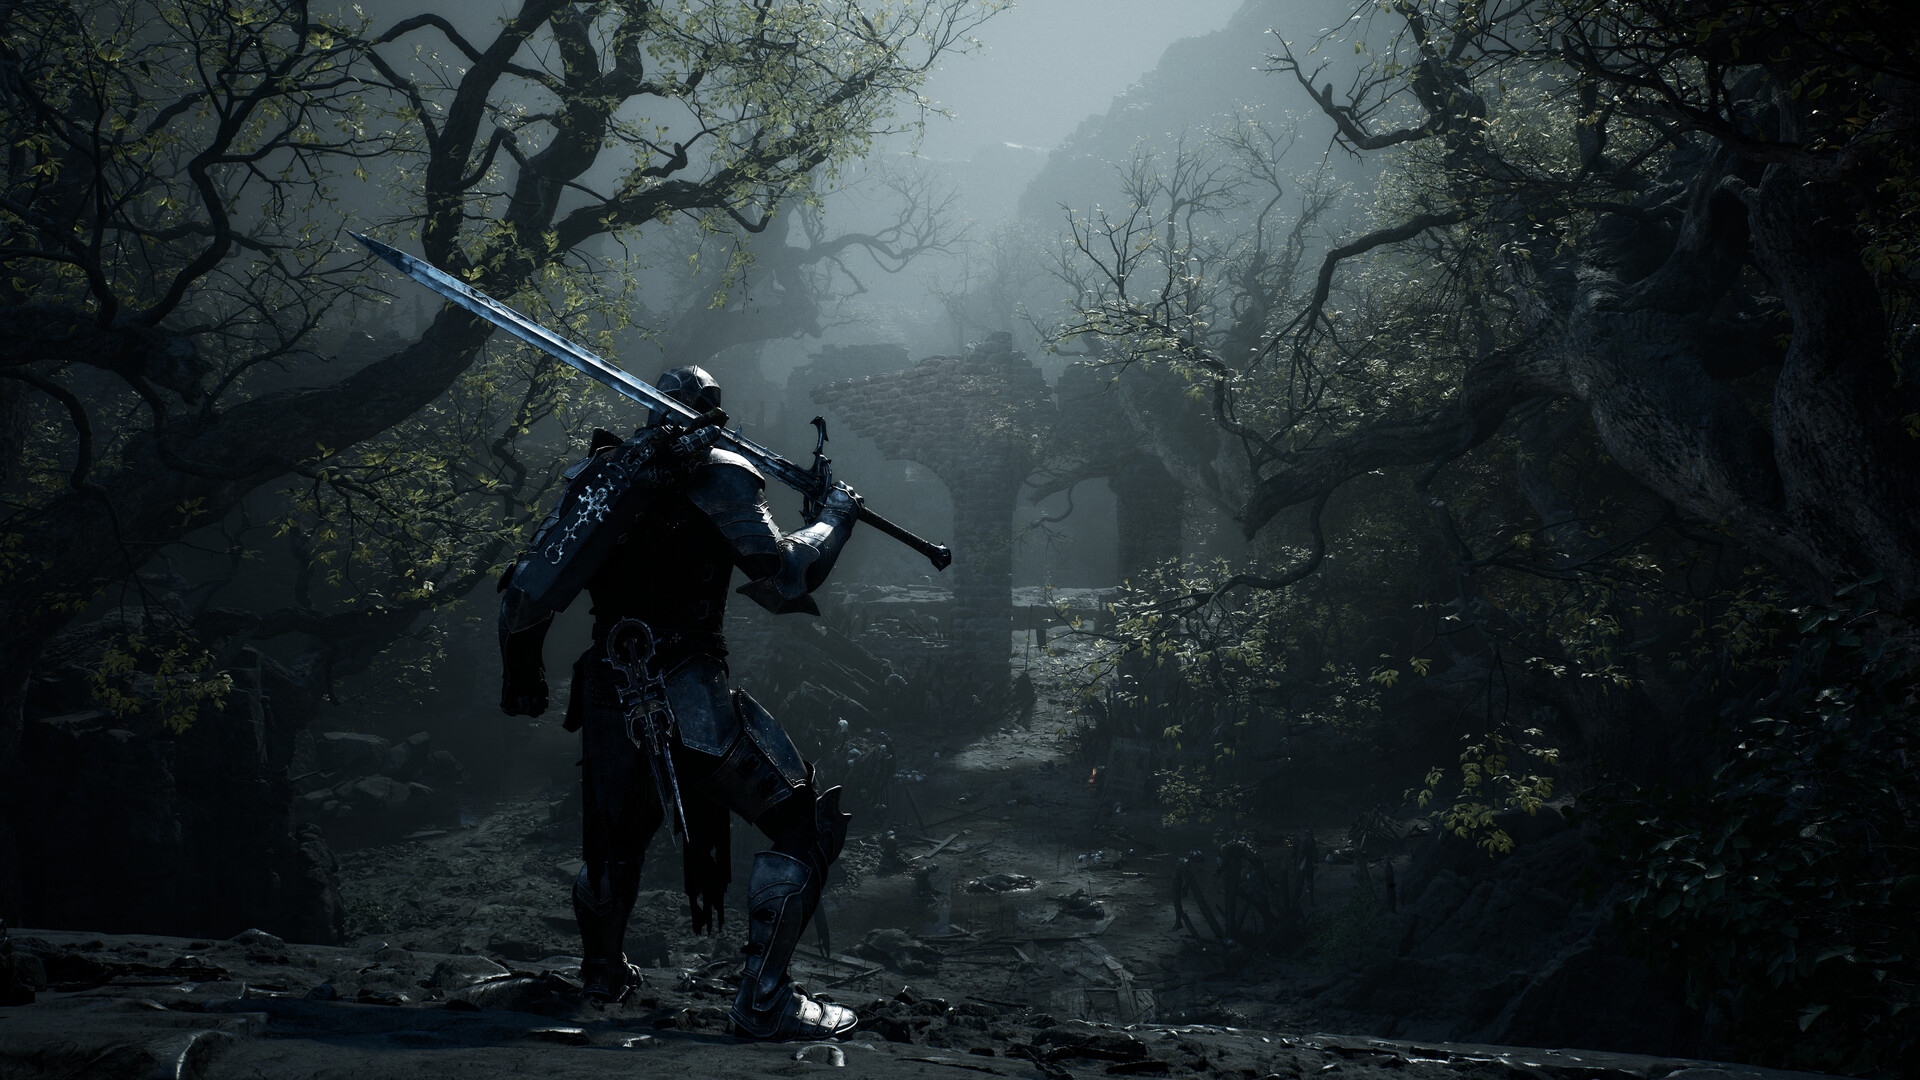
Seven of the eight unlocks also pop Bronze trophies, Genessa pops the hidden Sester trophy, and completing the set earns the Shell Seeker Silver — see the achievement guide for the full list, and Weapons for what to pair with your new bodies.
That is every shell in the game. This Mortal Shell 2 shells guide will be re-checked after launch week in case any unlock step shifts between the pre-release build and the shipping one.
Watch it in action
FAQ
How many shells are in Mortal Shell 2?
Eight playable shells in the full game — Tiel, Proxima, Eredrim, Gragu, Smert, Lazlo, Sariel, and the secret Sester Genessa — plus Harros, who is only usable during the prologue.
Can you keep playing Harros after the prologue?
No. Losing access to Harros when the prologue ends is permanent and part of the story; he cannot be re-equipped in the main game.
Which Mortal Shell 2 shell should I unlock first?
Tiel. His location in Mushroom Village is marked automatically after the prologue, and his stealth kit is widely rated the strongest early-game option.
How do you unlock Sester Genessa?
Defeat the secret Sester Secundus boss in the Ruins of Mammon, then bring the Sester's Chalice to Genessa at the Marrow Keep training grounds.
How does shell upgrading work?
After claiming a shell you complete its memory sequence, then spend Glimpses to raise Bond tiers at Zhirelle, the Shellkeeper. Genessa is the exception: you upgrade her by talking to her directly.
Do any shells return from the first Mortal Shell?
Yes. Tiel, Eredrim, and Harros return as playable shells, and Sester Genessa appeared in the first game as an NPC.
Sources
- GamesRadar — best shells and how to get them allhttps://www.gamesradar.com/games/rpg/mortal-shell-2-shells/
- GameSpot — all shell locationshttps://www.gamespot.com/articles/mortal-shell-2-all-shell-locations/
- DualShockers — how to unlock all shellshttps://www.dualshockers.com/mortal-shell-2-how-to-unlock-all-shells/
- AltChar — all shells and what they dohttps://www.altchar.com/guides/mortal-shell-2-all-shells-and-what-they-do-amfZE2h9nFag
- Official Mortal Shell II sitehttps://www.mortalshell.com/